Managing Products
Create a Product
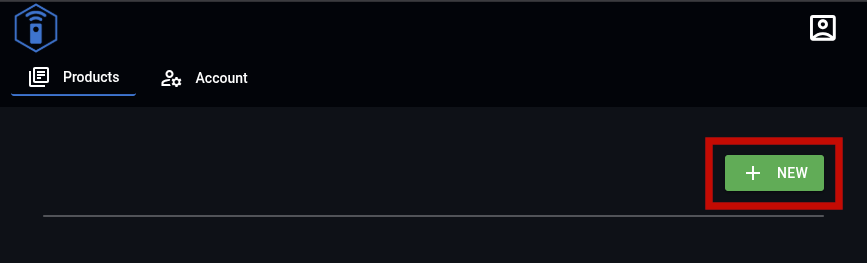
To create a product first navigate to the products page.
Click on New
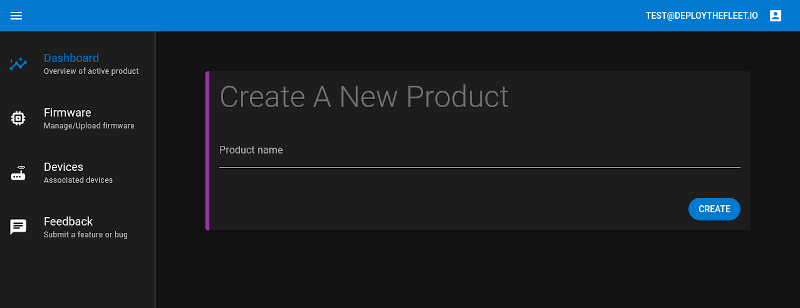
The create product dialog will appear. Enter the name and description of the product and click Create product
Get Product ID
The product ID must be supplied to the various supported Deploy the Fleet client libraries. Finding your product ID is simple.
- From the main product dashboard, select a product.
- Click on the Settings tab.
- Product ID is listed under the General section.
Manage Labels
Labels can be managed from the Product Settings tab.
Create a Label
- Under the Labels section on the Product Settings tab click Create Label
- In the Create Label dialog, edit the name, optional description, and color field. The color field has a color picker dialog or you can enter any hex HTML color code.
- Click Save
Edit a Label
- Click the 3 dots on the row of the label you wish to edit and click Edit
- An edit dialog will open. Make any edits you desire.
- Click Save
Delete a Label
- Click the 3 dots on the row of the label you wish to edit and click Delete
- A confirmation dialog will be shown
- Click Delete
Delete a Product
- Navigate to the Settings tab for the product you wish to delete.
- Scroll to the bottom of the page to the Danger Zone.
- Click Delete Product
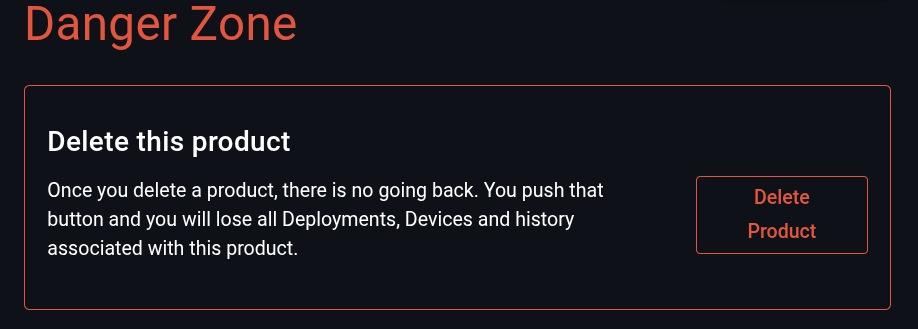
You will be asked to confirm that you wish to delete the product.
WARNING: Deleting a product will remove all firmware and device information that exists for that product. This data will be removed permanently.