PlatformIO Quick Start
Before You Start
Before continuing, create a product in Deploy the Fleet.
This guide assumes you are using the PlatformIO extension in VSCode although this is not a hard requirement. The PlatformIO CLI should work just fine if that is what you are more familiar with.
Finally, install v2.0.3 or later of the Deploy the Fleet PlatformIO library. It can be found in the Component Registry as DTF_ESP32Update.
LIBRARY VERSION: Be sure to install version 2.0.3 or later of the library. The Deploy the Fleet SDK has many versions for legacy support but only versions 2.0.3 or later fully supports PlatformIO.
What framework are you using?
We strongly recommend against using the arduino framework in a production solution. While it will work, we encourage new PlatformIO projects to use the espidf framework.
The framework is specified in your platformio.ini file in your project directory.
ESP IDF
Video Walkthrough
When using the espidf framework for PlatformIO, you will use the native C SDK for Deploy the fleet.
When using the espidf framework you must supply a
partitions.csv file in your project that has at least two OTA partitions.
- Launch VSCode and ensure the PlatformIO extension is installed.
- From the PlatformIO menu select Libraries.
- From the Registry tab, verify the DTF_ESP32Update library is installed. Install it if not.
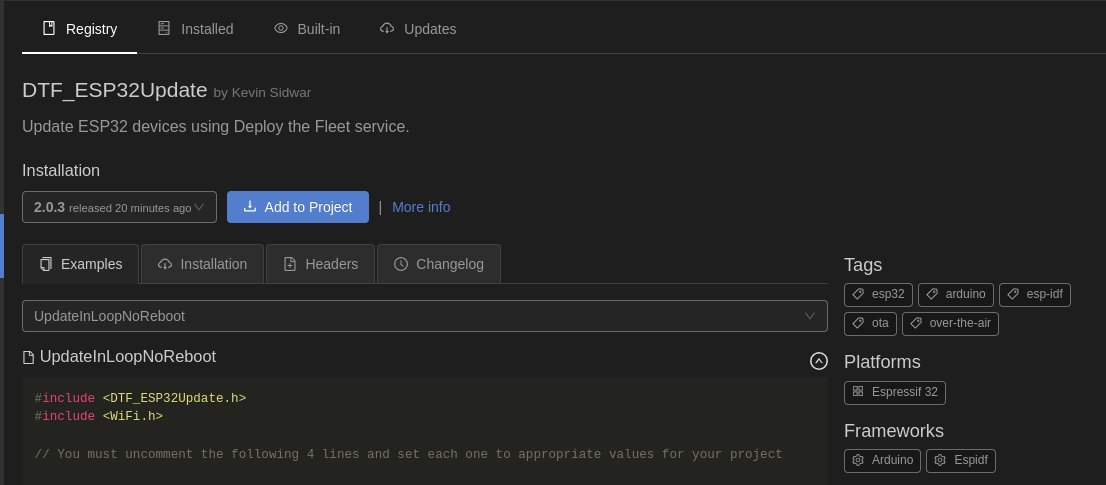
- Click Add to Project and select the target PlatformIO project to add the library.
- Decide on a location, in your project, where you wish to check for and install firmware updates. This could be a button press, on boot, or some other scenario defined by your business requirements.
- Include
dtf_ota.hin the code where you will perform OTA checks. - Construct a
dtf_ota_cfg_twith your Deploy the Fleet product id and other configuration settings. - Call
dtf_get_firmware_update(&cfg)
The call to dtf_get_firmware_update is a blocking call that will attempt to perform the entire OTA download and flash process. Based on the settings in your config, it can automatically reboot your device upon completion or not and allow you to reboot at an appropriate time.
The following is a simple example of using the library:
#include "dtf_ota.h"

// ...
// Your other code
// ...

// Location where you want to perform an update
const dtf_ota_cfg_t cfg = {
        .product_id = "[YOUR PRODUCT ID]",
        .reboot_option = DTF_NO_REBOOT};
auto ret = dtf_get_firmware_update(&cfg);
Upload your Binary to Deploy the Fleet
Once you have successfully built your project with the DTF library integrated, you need to upload a version of the firmware to the service as a Deployment.
- Build your project
- The generated firmware will be located in the .pio/build/[env] folder of your project with the name firmware.bin.
- Open the Deploy the Fleet Management Console.
- Navigate to the Deployments page for your product.
- Click Create a new deployment.
- Provide a name and description.
- Attach the firmware binary. The version should automatically populate.
- Click Deploy Now.
Arduino
This section will walk you through adding the DTF_ESP32Update library to an arduino framework PlatformIO project.
Due to PlatformIO’s lack of support for recent versions of the Espressif Arduino Core library, you must use the
community backed espressif32 platform. It supports the latest version of Arduino Core as well as ESP-IDF.
- Launch VSCode and ensure the PlatformIO extension is installed.
- From the PlatformIO menu select Libraries.
- From the Registry tab, verify the DTF_ESP32Update library is installed. Install it if not.
- Click Add to Project and select the target PlatformIO project to add the library.
- Modify your platformio.ini file to use the community backed
platform-espressif32by modifying the value of theplatformentry as follows:[env:esp32dev] platform = https://github.com/pioarduino/platform-espressif32/releases/download/stable/platform-espressif32.zip board = esp32dev framework = arduino lib_deps = deploythefleet/DTF_ESP32Update@^2.0.3 - Decide on a location, in your project, where you wish to check for and install firmware updates. This could be a button press, on boot, or some other scenario defined by your business requirements.
- Include
DTF_ESP32Update.hin the code where you will perform OTA checks. - Call the library with the appropriate arguments such as your product id and the currently running version.
auto response = DTF_ESP32Update::getFirmwareUpdate(DTF_PRODUCT_ID, CURRENT_VERSION.c_str(), DTF_ESP32Update::RebootOption::NO_REBOOT);
The call to getFirmwareUpdate is a blocking call which will attempt to perform the entire OTA download and flash process if an update is available.
Upload your Binary to Deploy the Fleet
Once you have successfully built your project with the DTF library integrated, you need to upload a version of the firmware to the service as a Deployment.
- Build your project
- The generated firmware will be located in the .pio/build folder of your project with the name firmware.bin.
- Open the Deploy the Fleet Management Console.
- Navigate to the Deployments page for your product.
- Click Create a new deployment.
- Provide a name and description.
- Attach the firmware binary. The version should automatically populate.
- Click Deploy Now.
Your First Update
Now that everything in your firmware is configured let’s create an update.
- If you are using the
espidfframework, modify the version via whatever mechanism your current project uses. Alternatively, you can specify acustom_versionattribute on thedtf_ota_cfg_tstruct. - Build your project
- Open the Deploy the Fleet Management Console.
- Navigate to the Deployments page for your product.
- Click Create a new deployment.
- Provide a name and description.
- Attach the firmware binary you built above. The version should automatically populate. If not, set it explicitly.
- Click Deploy Now.
- Reset your device
Your device should update and start outputting the new message indicating it is running the new version.